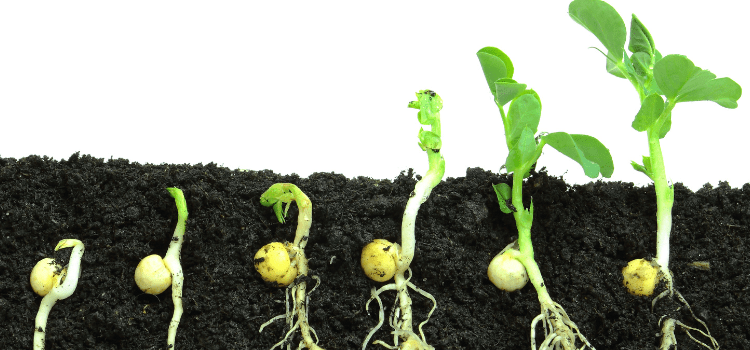
How long do seeds keep for?
This varies depending on what seeds you buy. Onion and parsnip seeds lose viability within a year. Tomatoes, beans, and brassicas can last 4-5 years if stored cool and dry. Always check the 'sow by' date on packets.
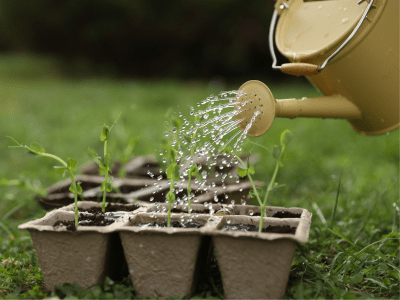
What's the best way to water seedlings?
Bottom watering is the preferred method for watering your seedlings. Place your pots in a tray of water and let the compost absorb moisture from below. This avoids disturbing delicate seedlings, but you can also use a watering can with a fine rose; be careful not to flatten small seedlings.
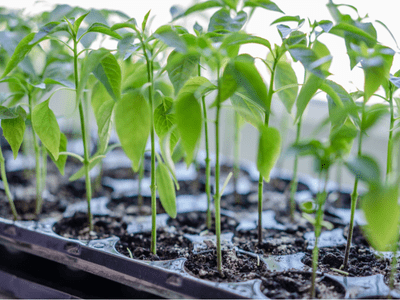
How do I know if seedlings are getting enough light?
Healthy seedlings are compact with short, sturdy stems and dark green leaves. If they're stretching towards light with long, pale stems, they need more. If this is happening, move your seedlings closer to a window or invest in a grow light.